Madder is one of those incredibly historic dyes that shows up in samples from many archaeological digs all over the world in some form or other, from Peru in South America to Cairo in Egypt to Gujarat in India. It’s often thought to be one of the oldest plant dyes known
Rubia tinctorium and Rubia cordifolia are the usual botanical names but various species are known by lots of different names, and they are related to plants such as Lady’s Bedstraw and Cleavers which contain the same colourings although in a much lesser quantity.
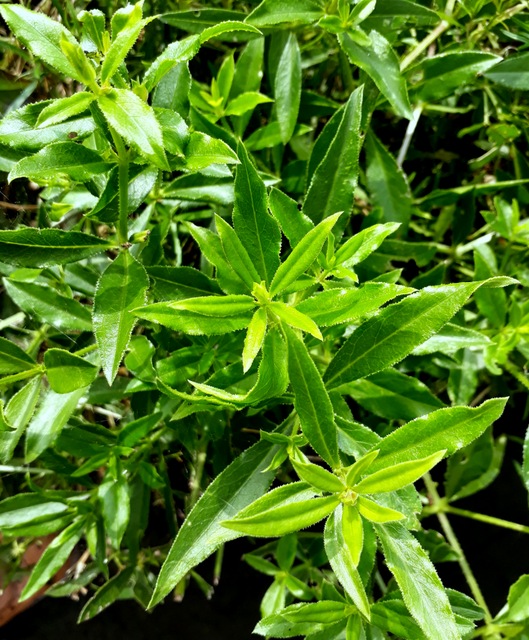
I’ve been fascinated to learn more about this precious resource and find out more about the range of colours/shades/tones that can be produced from this rather uninspiring creeping plant, or at least its roots
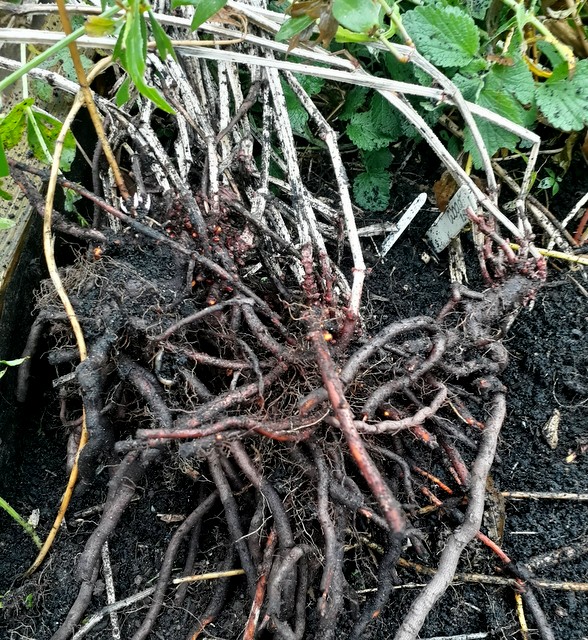
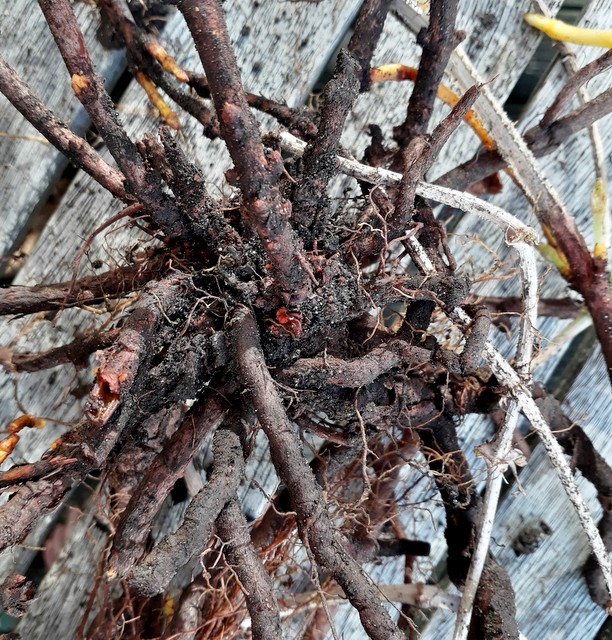
It takes about three years for the roots to grow to a good size and are harvested carefully, they break easily and each small piece is capable or growing again, so it is considered a bit of a weed in many places although perhaps in agricultural terms a boon.
The leaves and stalks are full of tiny prickles and can cause allergic reactions in some people. Uprooting can happen at almost anytime, but early autumn is popular as the leaves die back and allow easier access to the roots.
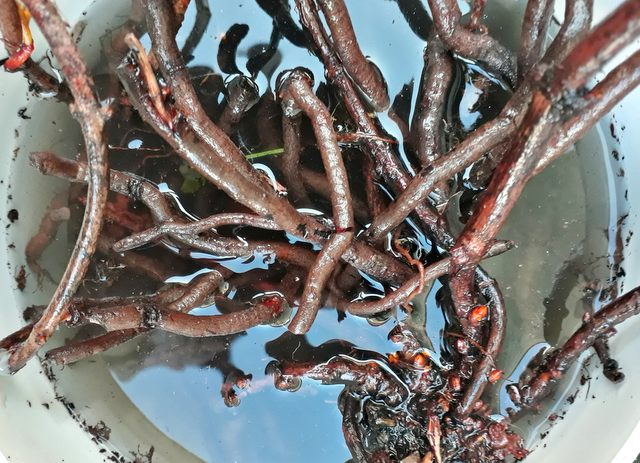
The fine roots are left to dry a few days, then the soil is brushed off and then the roots are washed to remove as much remaining debris as possible
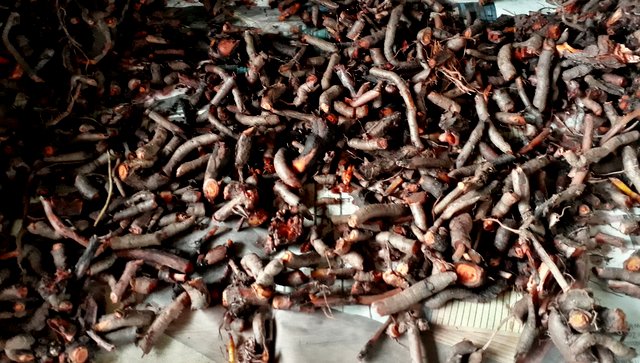
I’ve found it best to cut the roots into small pieces at this stage as when properly dry they become very hard. Madder has a tendency to go mouldy quite easily so the root pieces should be dried as soon as possible, in the sun would be ideal, but in a very low temperature fan oven works very well, turning the pieces often, and when cool stored in a jar where they should keep many years. There is an understanding that well aged madder gives better reds, but I’ve obtained great colours from fairly fresh harvests
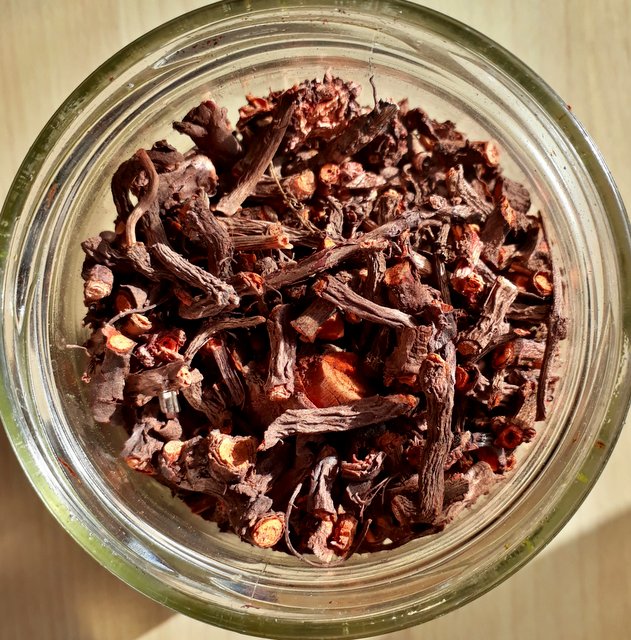
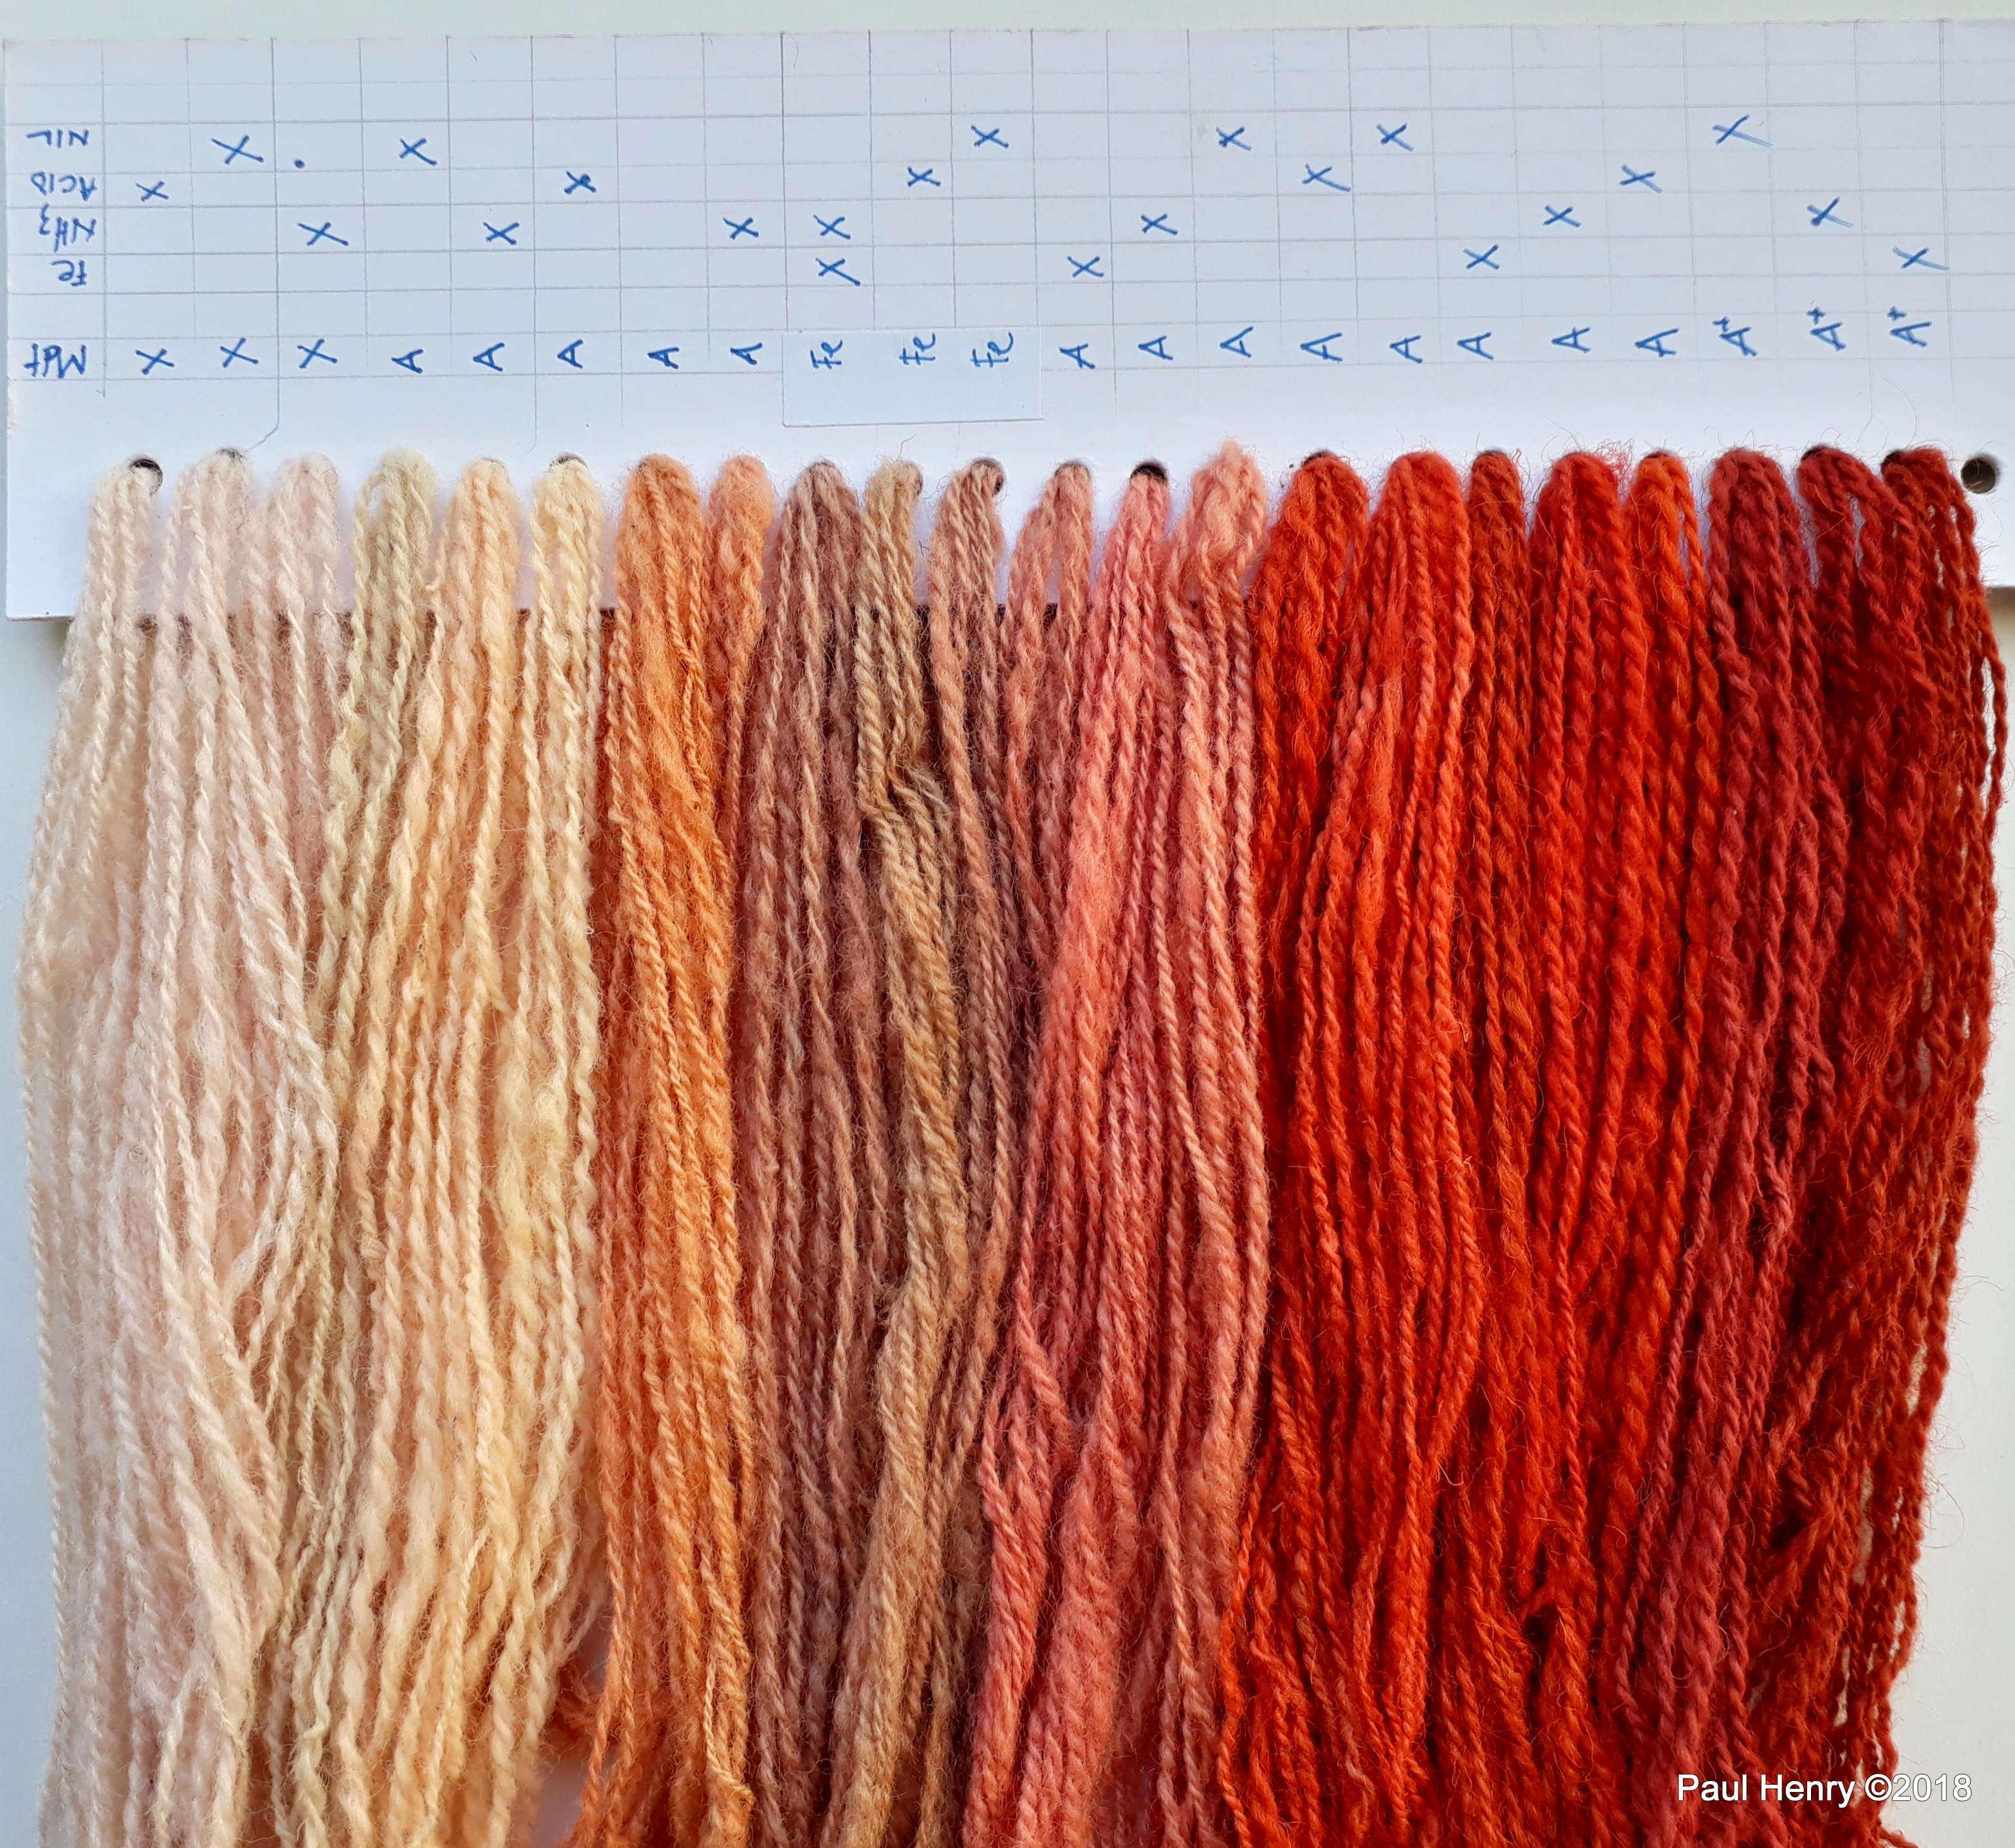
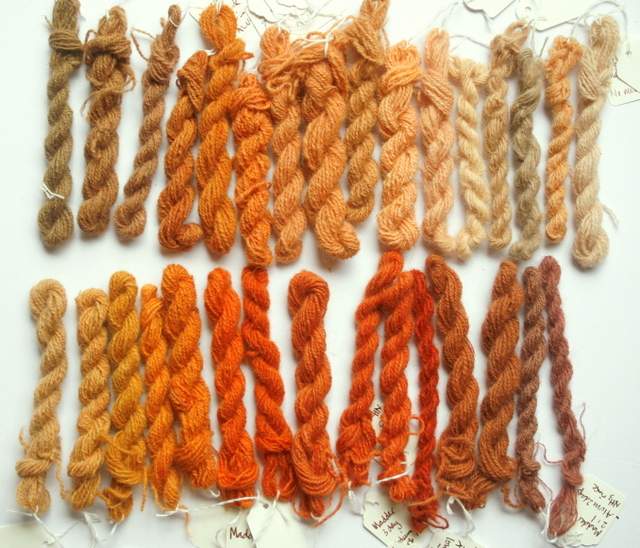
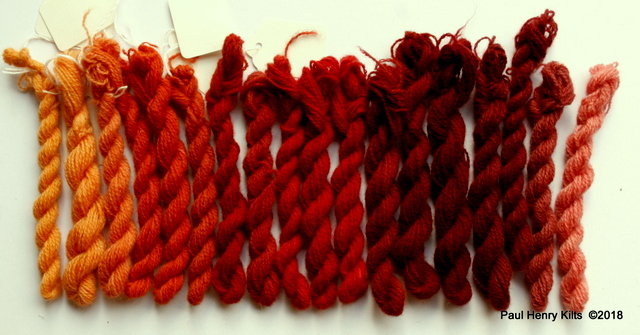
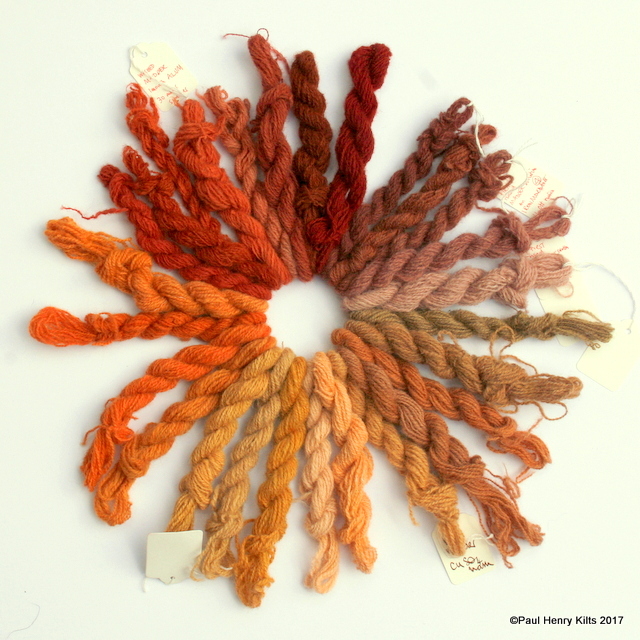
But now it’s time to dye, Madder contains a range of active ingredients but the chief one is alizarin and can with careful dyeing produce colours from pale pinks and peaches through tans and oranges to tomato reds and bright reds to almost dark maroons and grey purples.
It can be very temperamental to work with with many factors affecting the colour responses, for example , pH values – acid to alkali, to heating for too long or too high, for hard or soft water, for short or long soaking, for fast work or long slow fermentation. That is part of the frustration but also the magic with many natural dyes, I suspect the charm is in the challenge for the dyer, certainly for me.
I’ve worked with madder on wool in lots of different ways, but a usual ( and almost guaranteed to get some good colours) method follows.
The wool should be mordanted first using about 15% – 20% potash alum to weight of dry fibre this is a little higher than for usual mordanting, but the madder needs it to get a full depth of colour. Dissolve the alum in some hot water, add to the pot with plenty of extra water, add the scoured and skeined yarn and simmer gently for about an hour or so, leave to cool in the pot overnight, I’ve found that removing the skein and allowing it to dry for a few days, or weeks if possible works well, but remember to rinse and soak the skein before any dyeing.
Use about 150% dried root to dry weight of yarn and about 5% Calcium carbonate, madder appreciates hard water.
Soak the wool in clean water for a least an hour or overnight is ideal
Scald the madder roots and let sit a minute, drain the liquid, and repeat.This liquid will be quite orange, it can be used to make peaches and light colours, but it is worthwhile to remove the “orange” dye if you are trying to get a “redder” colour range.
This stage isn’t essential but it does seem to speed up the dyeing process.
Put the roots in a large pan with the calcium carbonate and plenty of water, heat very gently for about 30 mins and the colour will start to bleed out. I add the yarn at this stage, but some prefer to strain the roots off, put them in a net and then replace in the pan, but I find that the pieces of root don’t tend to stick to the yarn and are easily removed at the end of the dyeing.
Allow to stay warm for a few hours, very gentle heat is better, but don’t let it get above a simmer and below is ideal. Higher temperatures kill the red and give browns, perfectly good colours but not the sought after madder oranges and reds.
I let the yarn sit in the pot overnight, making sure that it is well covered with extra water if needed.
Check the colour next day, if not deep enough you can warm for another 3 – 5 hours, this can be repeated for many days and the colour will gradually increase. It is also possible just to let the pot sit for a few weeks without heat , to allow the madder to ferment, this is a good way to get decent reds in a very economic way.
If the yarn still has an orange tint you can rinse the skein in a low alkali solution – I use ammonia or washing soda, but be careful to limit this as it will begin to breakdown the wool if exposed to a strong solution or for too long, and always make sure it will well rinsed. If things go to plan you should see a gentle change of tone to a cleaner red and less yellow colour.
Conversely if you give the skein an acid rinse – vinegar to citric acid – more yellow will show.
You can put the skein back in the dye pot for deeper colours if wished.
Allow the skein to dry overnight or longer, without rinsing , this seems to help the madder to set properly on the fibres.
This is a good basic way of dyeing with madder , but there are lots of variations possible and every dyer has their own pet methods.
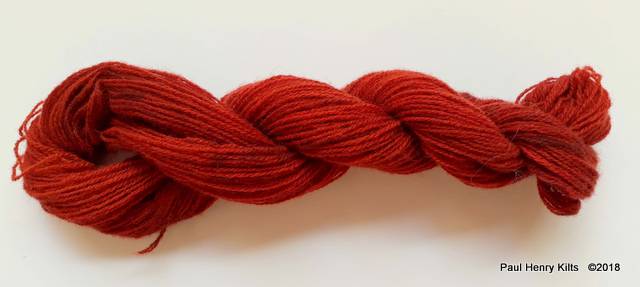
A few key things to remember, madder doesn’t like to get too hot, it prefers a slightly alkali environment and it’s quite happy to sit for a long time, in fact one of the best reds I’ve got was from a skein that I had forgotten in a dye pot for about 4 weeks, and some people even work with cold madder dyeing over a month or so with excellent results.
Other things to note, the smaller the madder is ground the faster the colouring, I’ve used finely ground or finely chopped orcomplete roots with satisfactory results, but I find the ground dust is a little harder to wash out.
There are different grades of madder, usually from different parts to the world, some of my most reliable results have been from Iranian madder pieces, but my recent tests from London grown madder in school playgrounds has restored my faith in local fresh sources as well.
Modifying rinses is a great way of adjusting tones or tints of madder dyed fibre.
A short soak in an iron rich bath will sadden the original colour making it greyer or duller, with an additional alkali rinse madder colours can turn towards the purples.
Alkalis will make colours cleaner and often accentuate any red
Acids will tend to warm up colours to a lighter or more golden hue.
Tannins will tend to make thing browner and in the presence of iron grey to black shades are possible.
With any dyeing it is possible to redye , or to dye several times to enhance or enrich the colour, madder works well this way, sometimes there is no need to re mordant, but another few days in a fresh dye bath can work well
Madder is a wonderful resource and worth taking time to investigate the incredible range of colours possible, for me wool offers the greatest range, but silk, linen, and cotton is worth a look as well. Cotton with madder needed a curious and very long dyeing process with perhaps over 25 different and subsequent stages, including oil, blood and dung to make the famous Turkey red much loved in India, I’m prepared to give that a miss, for the moment at least.